Well, that weather yesterday was a little unexpected! Hope all is well and thought today I would take myself far out from my comfort zone! I may know the difference between a willow warbler and a chiffchaff but I know very little about doing paintings and art work. Consequently, I thought, as it looks like being an in day, you would like to see a step by step guide to putting together a painting of an ash tree. A simple method. Basically, it is based around the letters V and Y.
 |
Draw the trunk and 2 branches in the shape of a letter Y. Then extended the branches with another Y and add a V in the middle of the branch.
|
Then, extend the edges of the branch either side of the letter V as shown below. Remember, the pencil lines are the edges of the branches, not the actual branches. You'll be painting between the lines.
 |
| The basic design |
Now, just keep adding a smaller letter V in between each branch, adding a little more shape and curves. Have a few practice goes and you will get the technique really easily. When you have got it how you like it, get ready to draw and paint. This is my very simple one, but it does work and children love the order of it. Also, they will be proud of their finished piece because it will look like a tree and be colourful. I have kept mine to the bare minimum but I bet loads of far better ones will be completed. I have had success with Year 3 doing this. Their's were always far better than mine.
Let's get ready to go:
 |
| Water, brushes, simple paint set and paper. |
First, paint the sky to about 1/2 way down the paper. I used A4. The sky can be solid or just streaky like mine. Try mixing colours: oranges, reds, blue. Add a sun, best not central.
 |
| Very straight forward |
Leave to dry for a few minutes and then draw the tree, extending the branches towards the edge of the paper, but not all the way to the top of the sheet. Try to leave space under the trunk as shown here.
 |
| The trunk and 1st 2 branches |
Keep drawing the Y and V shapes. Have branches in front of the sun for a sharper effect.
 |
| Keep going |
 |
| Starting to fill the paper. |
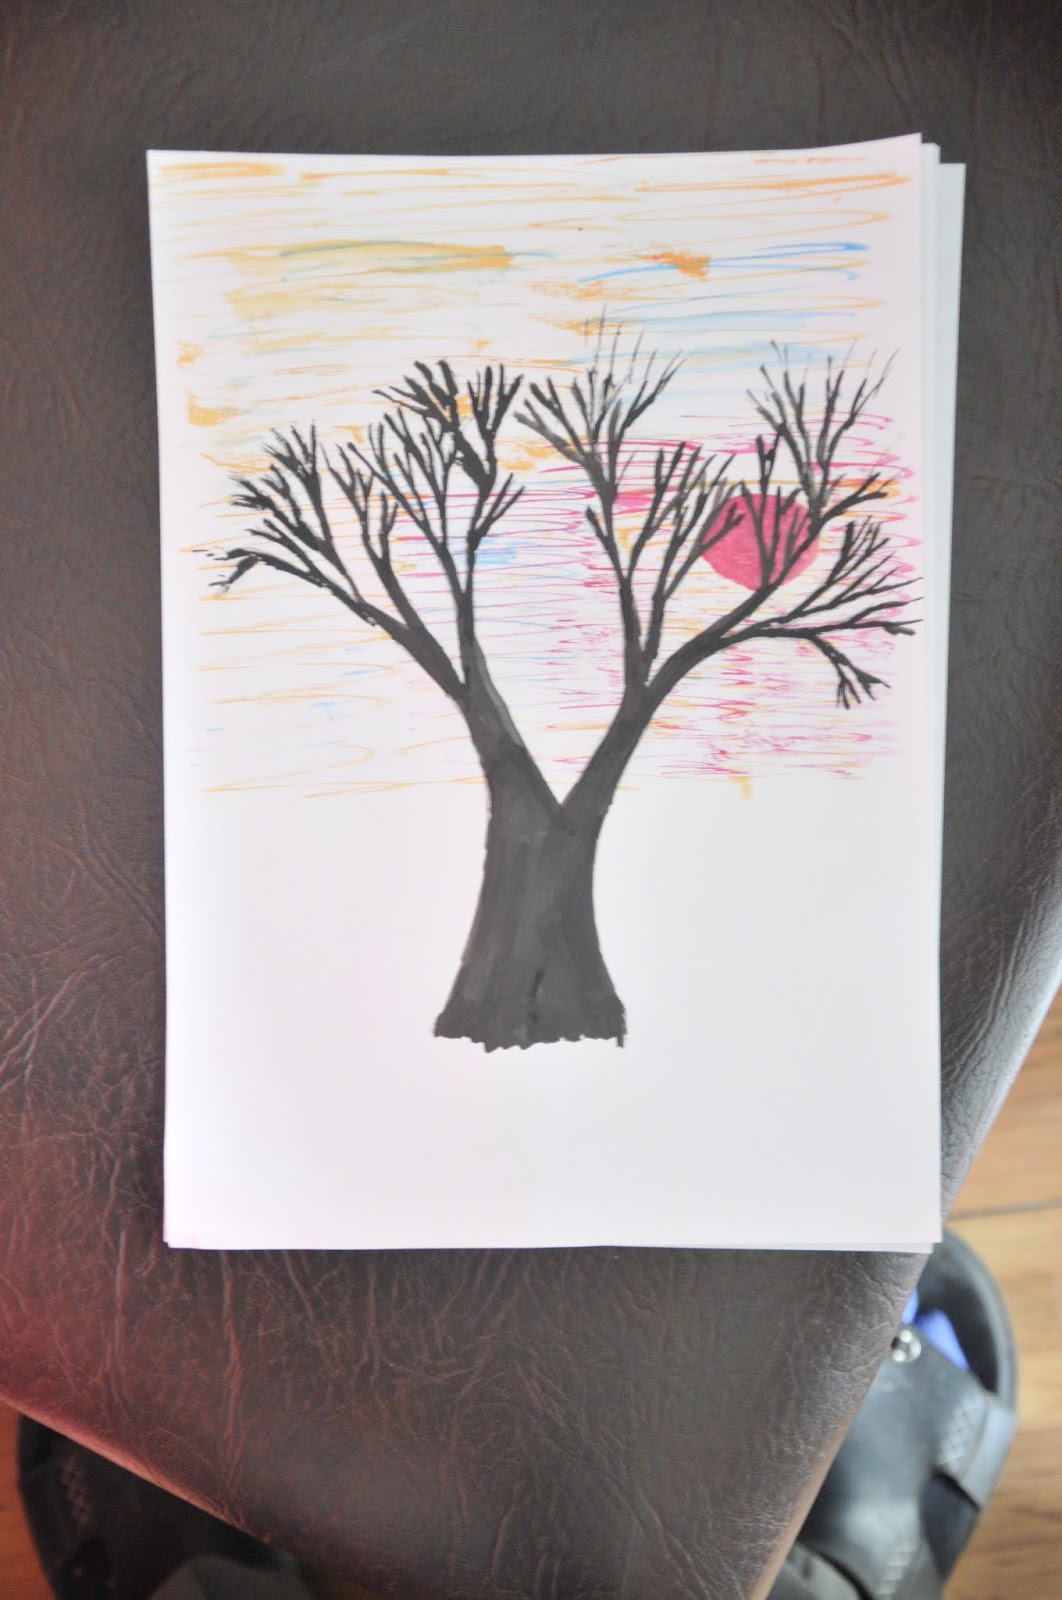
Just keep going with the branches, making sure they get thinner at the tops. When you have finished the drawing just get some black paint as the tree will be in silhouette as the sun is behind it. Start painting, moving the brush in the direction the tree grows, i.e. up and down, not across.
 |
| Drawing finished: painting started. |
As the branches get thinner, you may need a thinner brush.
 |
| Coming on. |
Continue until the whole tree is completed. It already looks a success.
 |
| Not too bad. |
Leave the tree to dry and take a break because that will have taken a lot of concentration. At this point our cat, Norman, decided he wanted to get in on the act!! Fortunately the paint was dry.
 |
| Thanks, Norman. |
Once Norman had been removed I got back to it. Next, add a few more details. Perhaps a hedge in the distance, a fence and a gate into the field. I pressed hard here with my pencil so it came out for the photo but a lighter touch is better.
 |
| A little perspective. Note hedge gets larger as it comes down the side as it is getting closer to the viewer. |
Then, get some brown paint to add a ploughed field as it is a spring or winter scene. You can paint over the gate and fence as long as the lines are still visible.
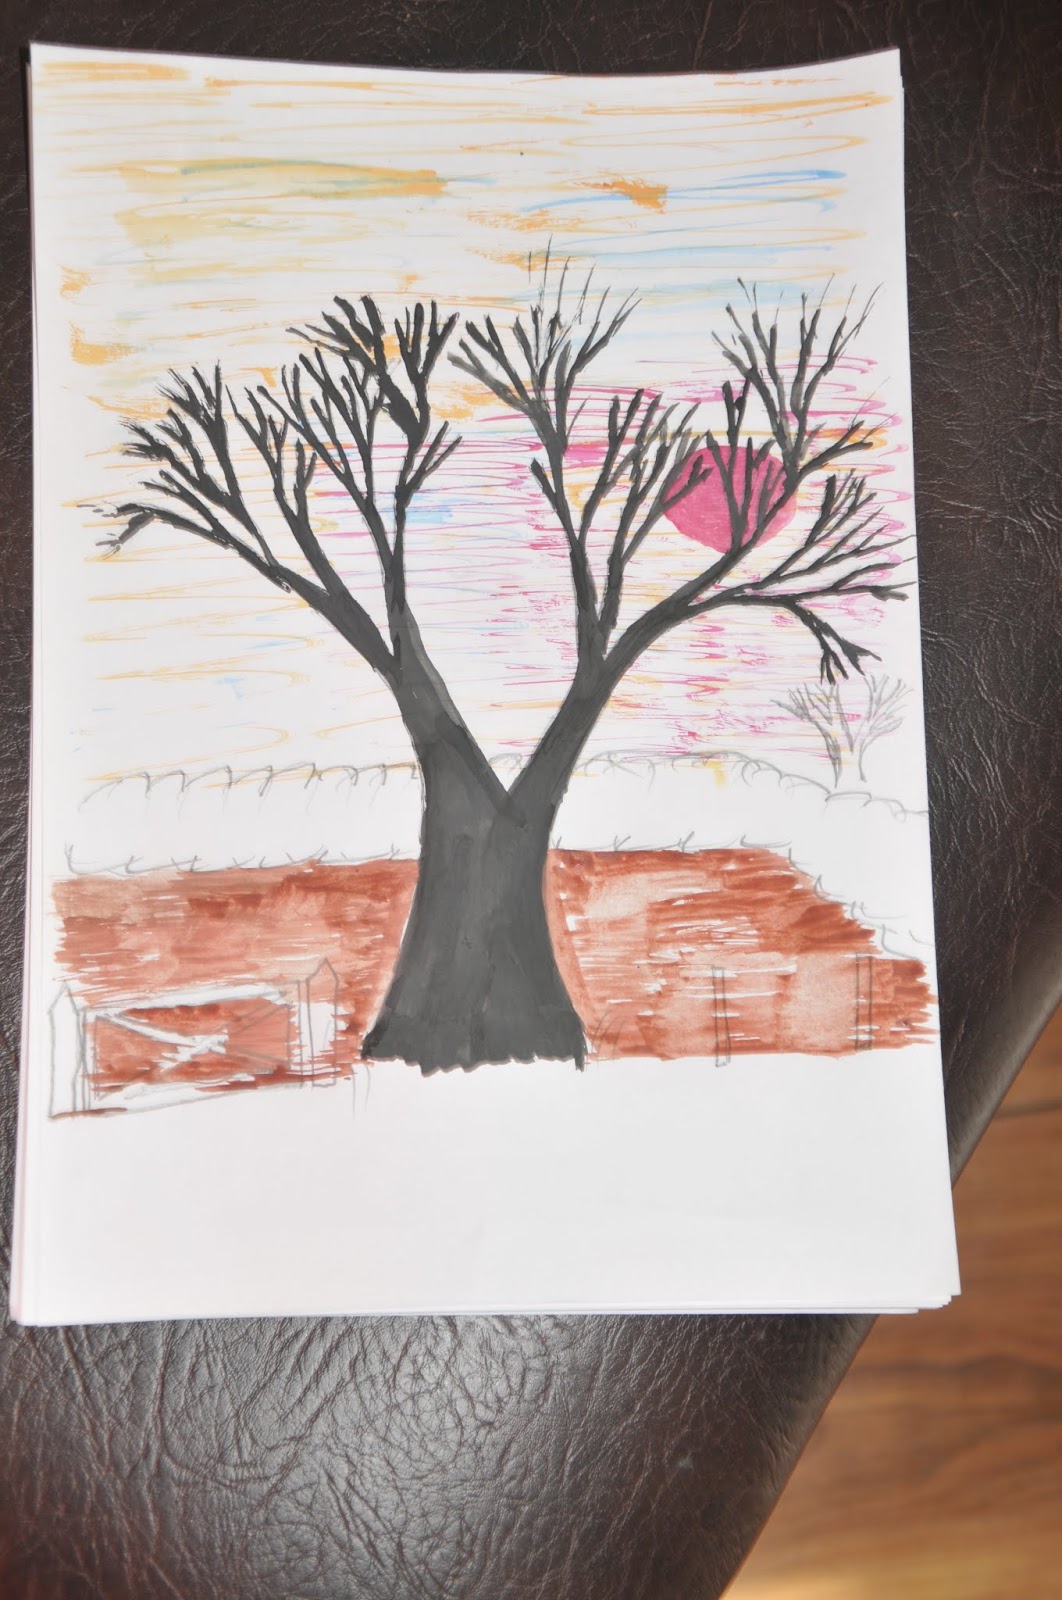 |
| A little depth added |
Now, begin to add colour to the hedge. I used brown and black to continue the silhouette theme but greens are also good.
 |
| I painted the hedge in swirly patterns |
Then, back to the black paint for the silhouetted gate and fence. Add a few horizontal black lines across the field to give a shadow effect. Maybe add a much smaller tree in the distance.
 |
| Not looking too bad! |
Now, nearly there. Get some greens and yellows and paint the field in front of the tree. I used the same technique as the sky, just backward and forward motions. Can always paint it in solid colour.
 |
| This adds to the perspective. I used 2 greens and a yellow |
Finally, as the sun is behind the tree and gate it highlights the picture a little more to add some shadow effect. Once that is done, you're done. Stand back and enjoy your work. Very easy, I hope you agree and a quick piece of work to decorate the fridge door. Don't forget to sign your masterpiece, it will be far better than mine, I can guarantee.
 |
| Could add birds, a pheasant in the field, wild flowers growing up the posts, birds flying or a butterfly on the posts. |
Do have a go and I would be really pleased to share your results on this site over the next few days. Just a phone photo to jforgham"at"hotmail.com. I'll look forward to receiving them.
That's the home schooling for today. Not only art and nature, but the branches can be counted in 2's, 4's and 8's. Easy tables work.
This is the very basic method. The children will be able to then have another go, a forest with a path, animals in the field. They will come up with all sorts of original ideas.
Look out for a new idea tomorrow. Posted here by 10.30am and put on my FB account and Stortford Nature account. Feel free to share this idea, just send the link to whoever. Good luck.
Brilliant! Jono Van Gogh!
ReplyDelete